
This series of tutorials are going to show you how to build a low cost (~100USD ) Minecraft server on Raspberry pi 4 with web-based management tool and auto backup.
Before we get started, we have to prepare some hardwares:
| Items | Recommendations | Price (USD) |
|---|---|---|
| Raspberry Pi 4B | 8GB version (minecraft server is a memory cumsuming application) | 80.00 |
| Micro SD card | SanDisk Extreme Pro MicroSD 64GB | 18.00 |
| Power supply | 5V/3A/Type C | 3.50 |
| Lan cable | N/A | 2.00 |
| Total | – | 103.50 |

Install Ubuntu for Raspberry Pi 4B
Download Ubuntu for Raspberry 4
https://ubuntu.com/download/raspberry-pi
Download and install Etcher
Flash Ubuntu image to your micro SD card by Etcher

Insert the micro SD card to your Pi, then connect your lan cable and power supply to it

Connect to your Raspberry Pi
Find IP address of your Raspberry Pi
Method 1: Goto your router dashboard and find the device with name “ubuntu”

Method 2: Run nmap command to scan your network
You may need to download nmap first
Mac: https://nmap.org/book/inst-macosx.html
Windows: https://nmap.org/book/inst-windows.html
The ip range depends on your subnet setting for your router
e.g. If your router dashboard IP address is 192.168.0.1, you may need to change the IP scanning range to 192.168.0.0-255
Find the circled host and that is the IP address for your Raspberry Pi

Connect to your Raspberry Pi via ssh(Mac/Linux), Putty(Windows)
Connection information:
| IP address / Hostname | From previous step |
| User name (Default) | ubuntu |
| Password (Default) | ubuntu |
For Windows users:
You can download Putty below:
For Mac and Linux users:
Open terminal and run the following command:
You will be asked to change your password, just change and remember your new password.
After you changed your password, you need to logon with your new password.
Install Docker, Minecraft Server and Portainer
Your Raspberry is ready to use and we are going to install
- Docker
- Portainer
- Minecraft Server
Update package
Add required dependences
Add the security key
Add the docker repository for ARM64 + Ubuntu Linux.
Update the repository again.
Set higher priority for docker official repository, instead of using default Ubuntu Repository
Install Docker
Add current user to docker group
Now we have installed docker, then we can install Minecraft Server with single command now.
You can change the parameters to fit your actual requirement, here are some common parameters you may want to change:
| Parameters | Description |
|---|---|
| -p 25565:25565 | port assigned to minecraft, 25565 is default port for minecraft server |
| –restart=always | “always” means the container will restart automatically when the mincraft server is down |
| -v minecraft_data:/data | Volume name (for storing data), suggest you to follow this, so that you can setup auto backup easier in part 2 |
| –name minecraft-server | Just name the container |
| -e EULA=TRUE | Accept minecraft server end-user license agreement (EULA), you cannot use the software if you don’t accept it |
| -e VERSION=1.16.3 | Minecraft server version, you can change it to “LATEST” to get the latest version |
| -e MEMORY=7G | Memory assigned to minecraft server, for 8GB Raspberry Pi, I would recommend you to assign 7GB for minecraft server |
| -e TZ=Asia/Hong_Kong | Timezone for minecraft server, just change it to your timezone |
| -e TYPE=PAPER | Use PaperMC server, it claim that it is high performance minecraft server |
| itzg/minecraft-server:multiarch | User ARM64 architecture build docker image, you cannot change this |
After installed Minecraft server, we will install Portainer for managing the Minecraft server container with web-based UI.
Create volume for Portainer
Create Portainer container
You can access Portainer by entering the following URL to your broswer:
http://:9000

Choose Docker and connect to it

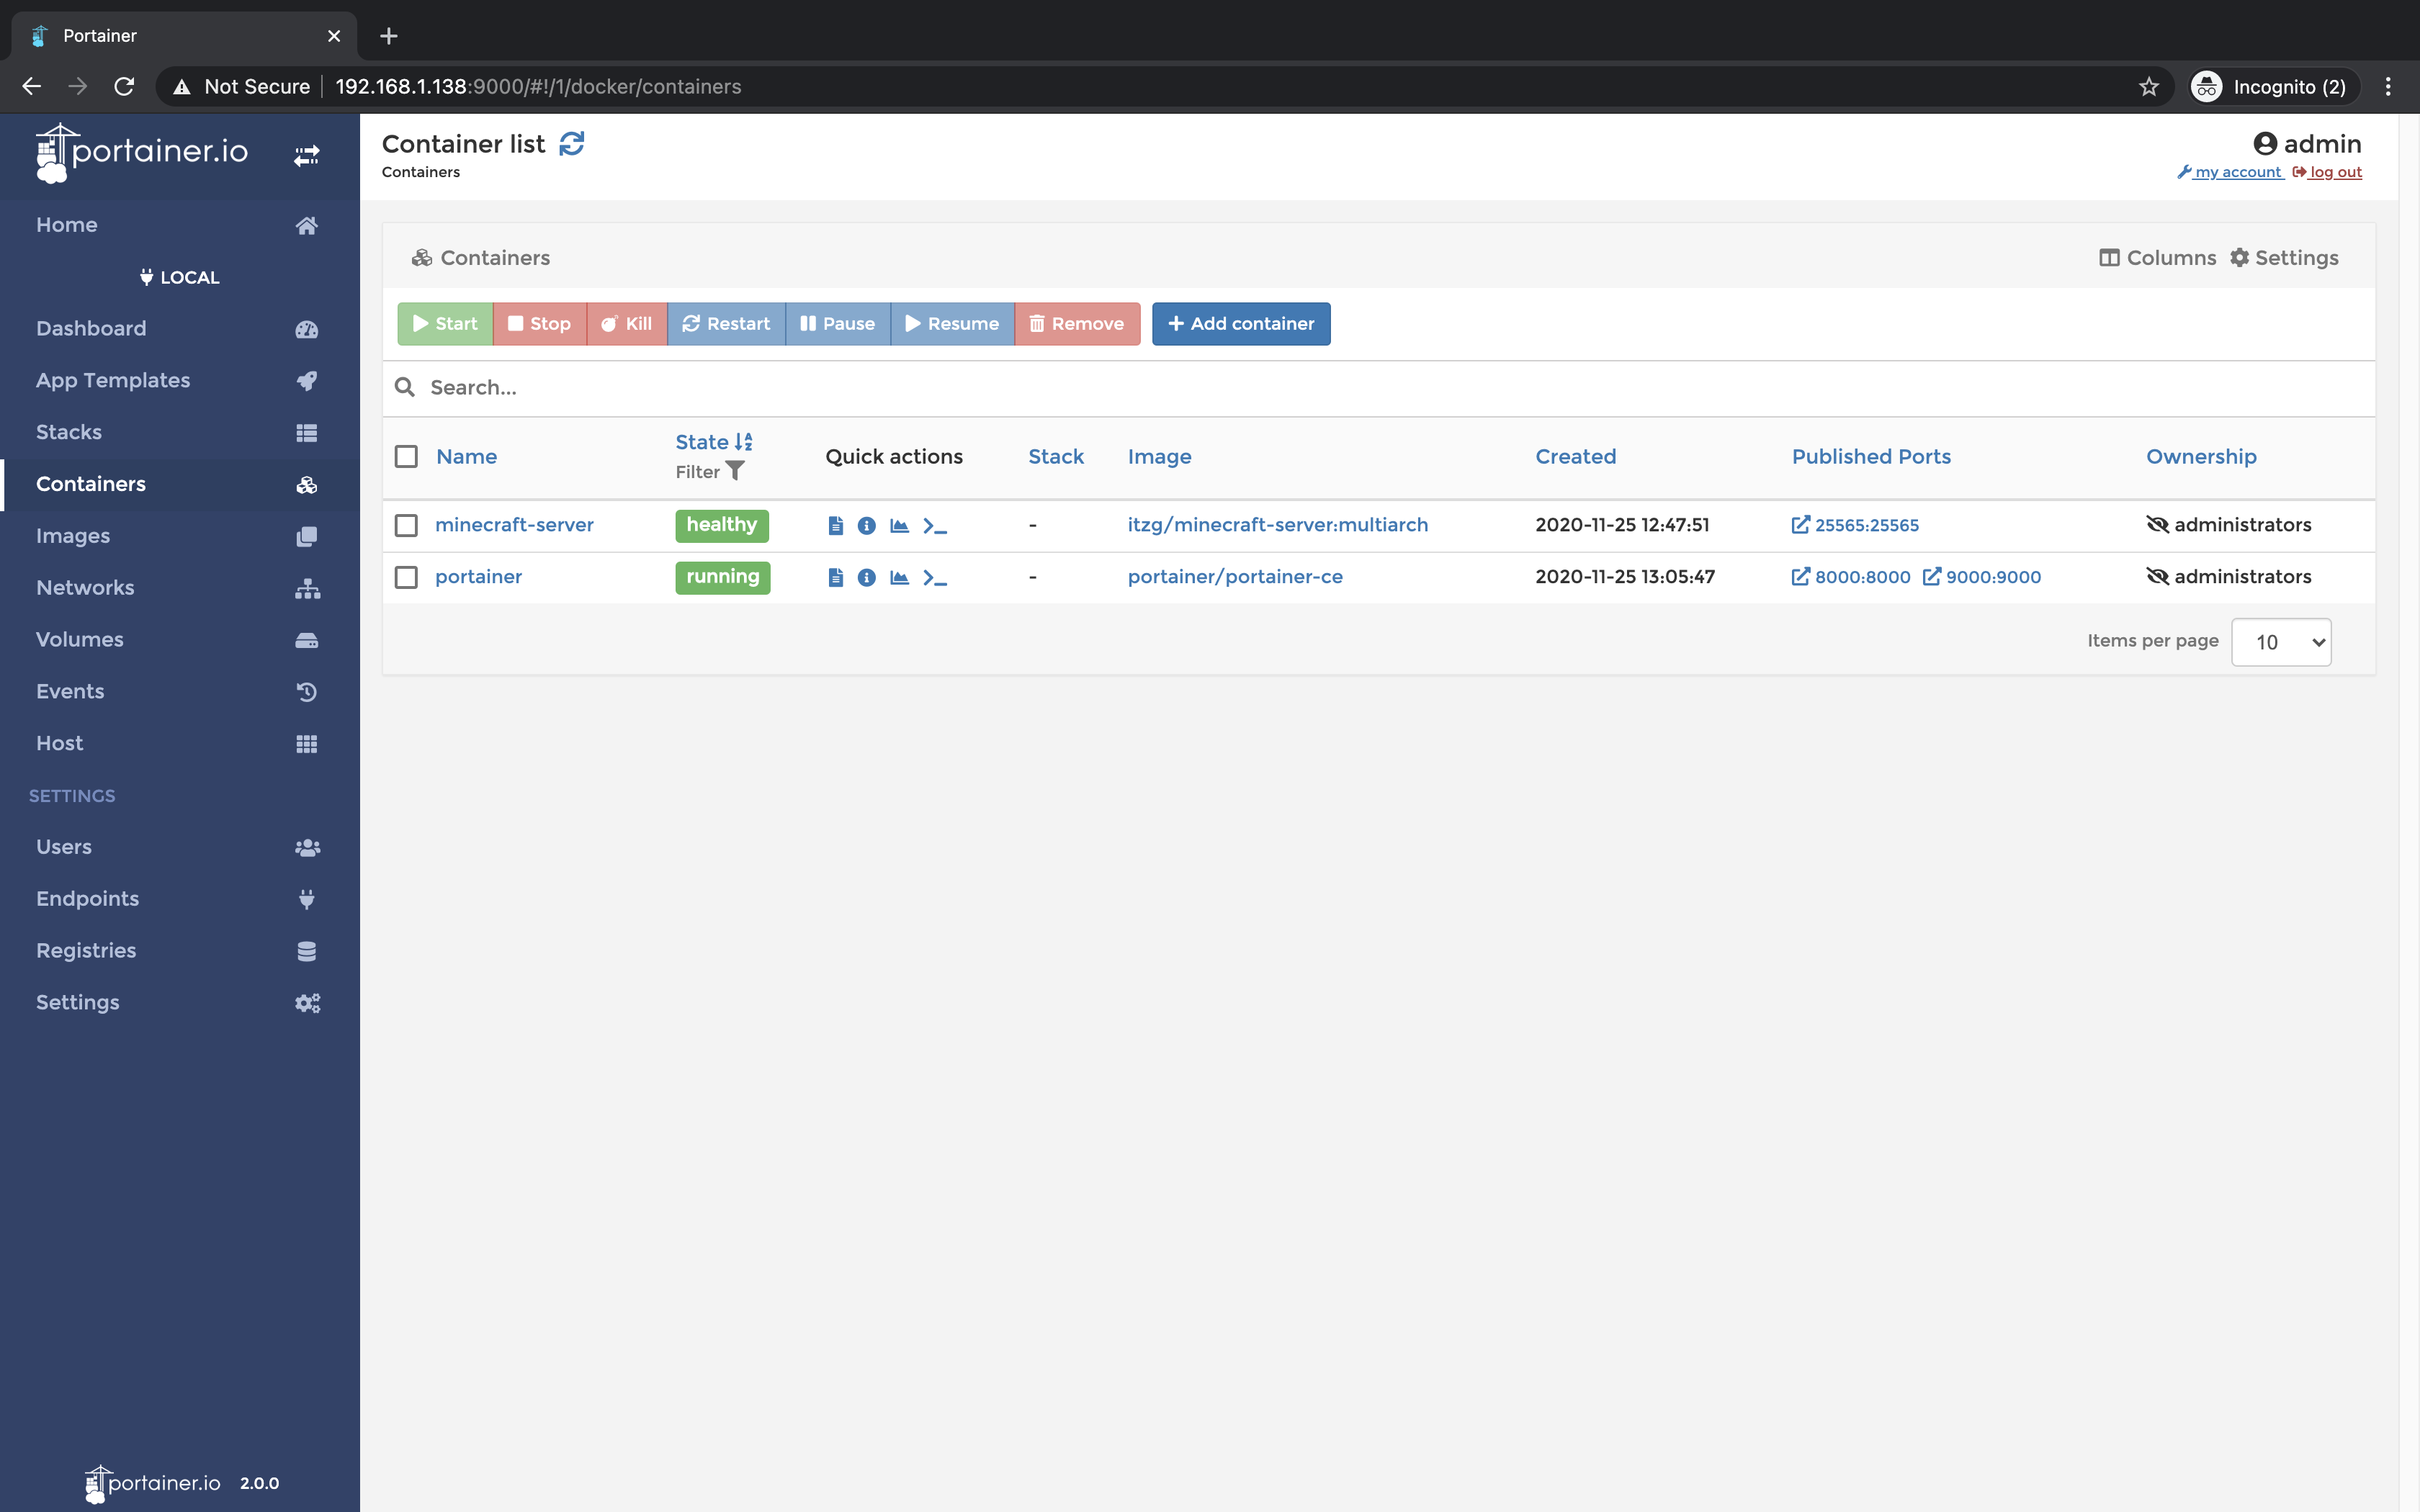
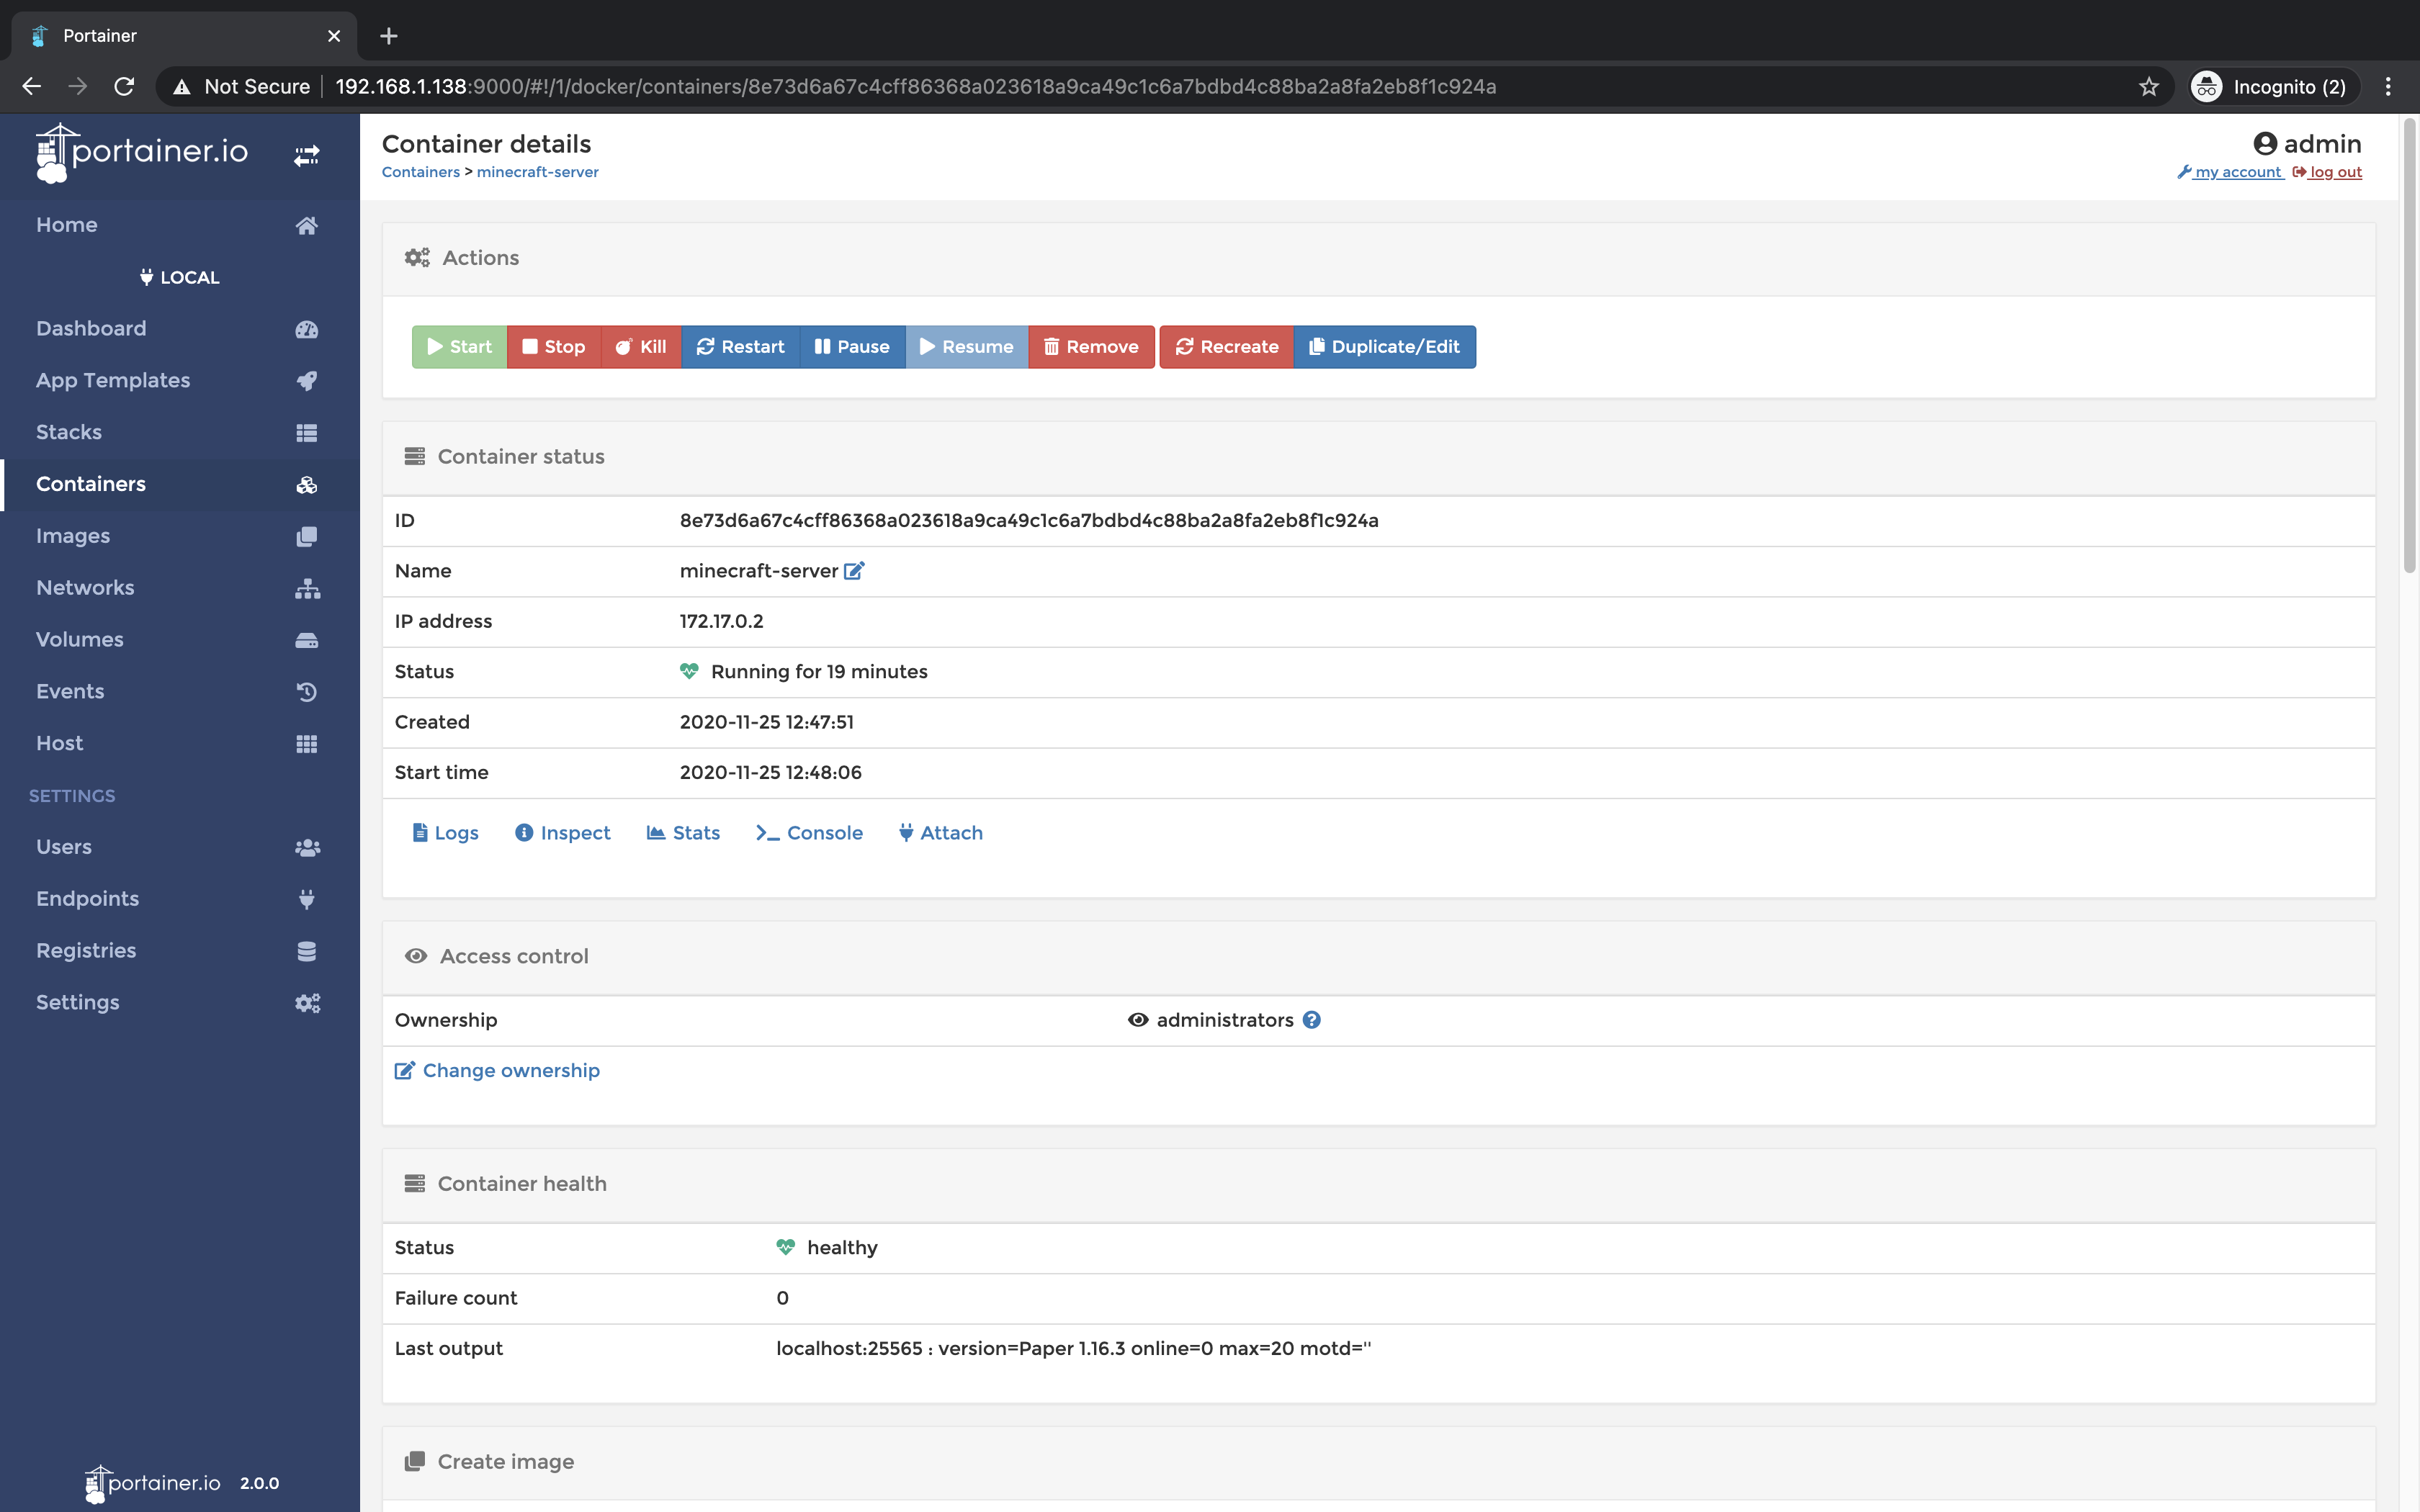
Congrat! You can manage your Raspberry Pi Minecraft server by Portainer now. By using Portainer, you can:
- Start/Stop the Minecraft server
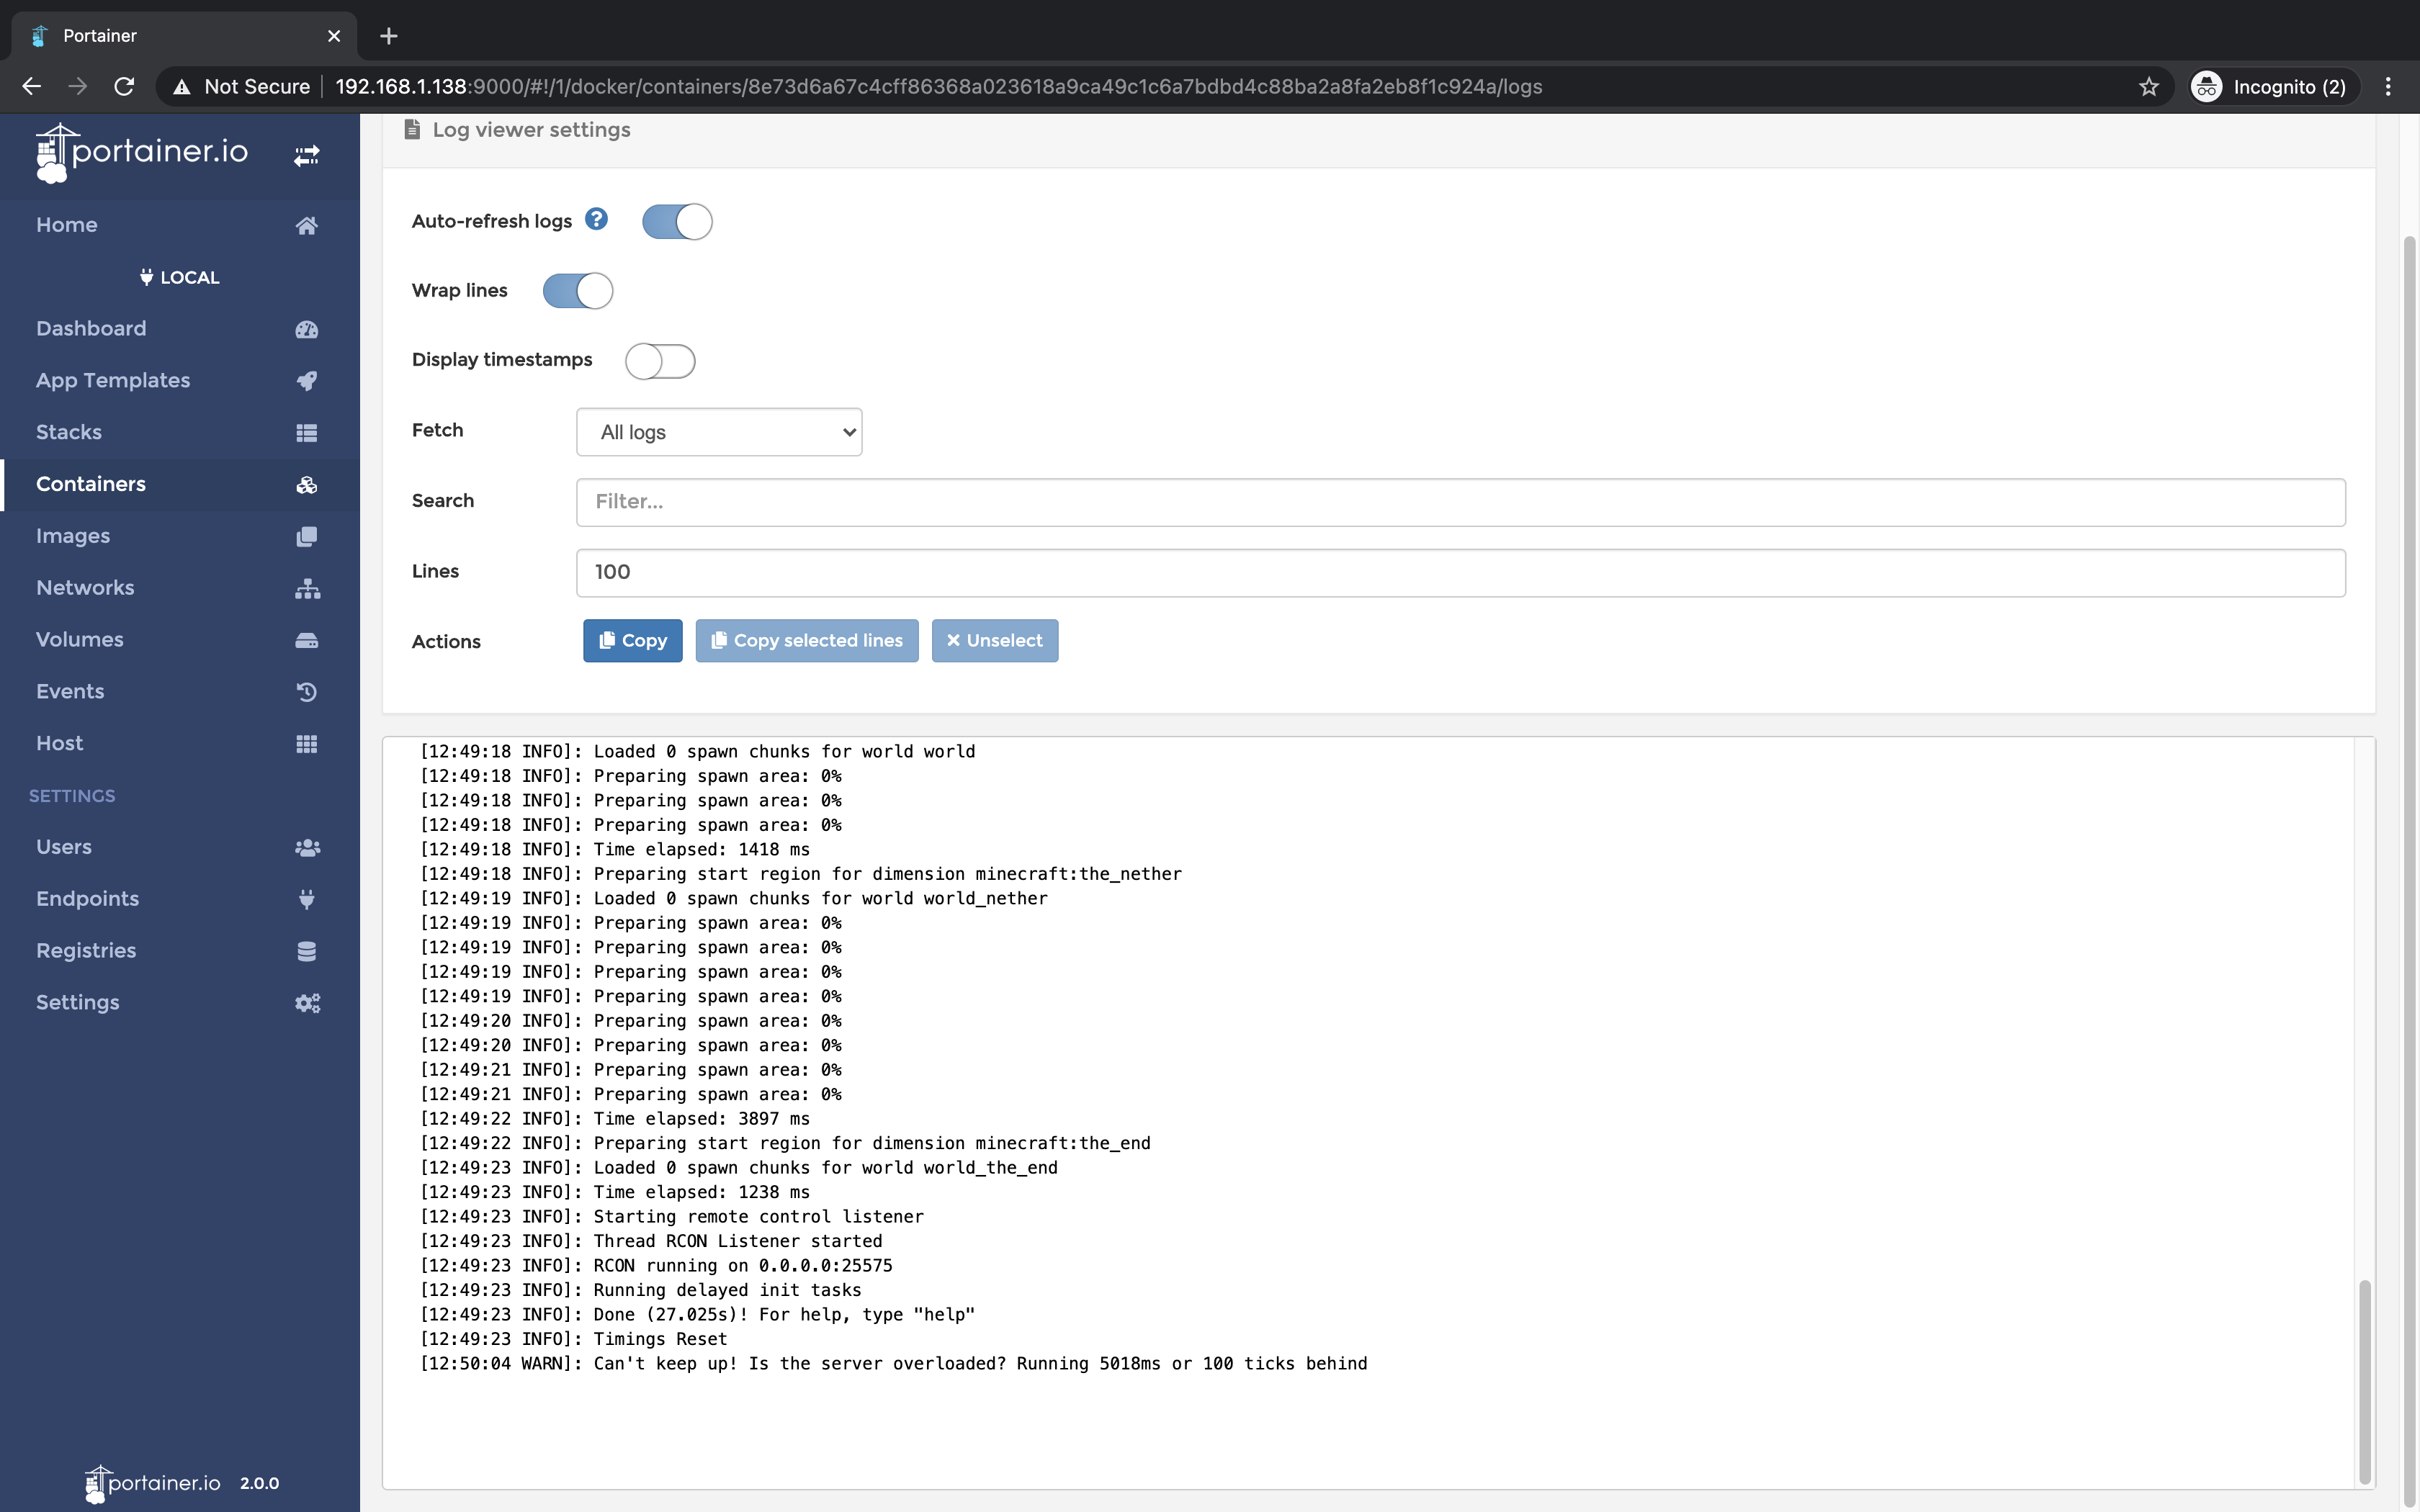
- View the Minecraft server log
- Manage your dockers in web-based UI
Congrat! You can connect to your Minecraft server now.
I hope this tutorial can help you to setup your own Minecraft server on Raspberry Pi.
Leave A Comment